
When I'd used my impress moulds in the past, it was on quite small bits of rolled out polymer clay (for the insides of fireplaces and the like). This was a much bigger project, about 15" deep and 11 inches wide!
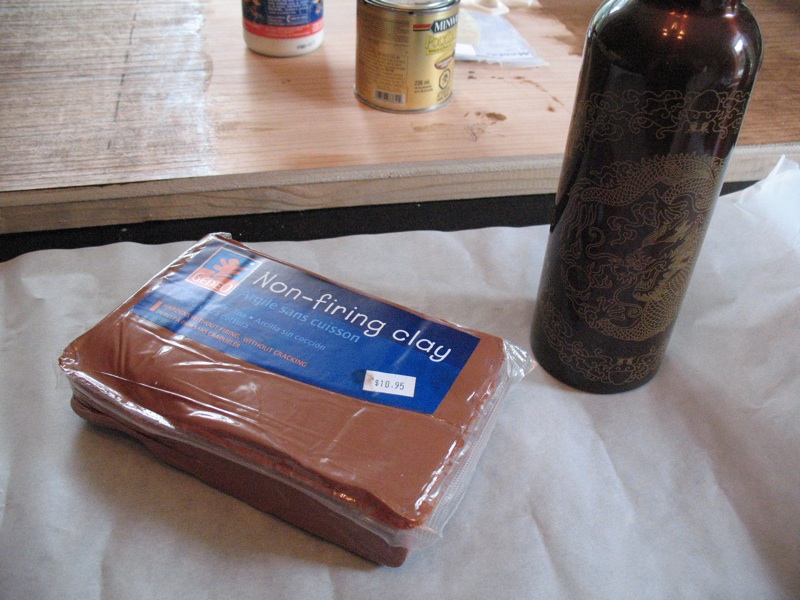
I started rolling out the clay on a piece of parchment (or baking) paper. Not a great idea, because although the parchment paper keeps the clay from sticking, it also wrinkles. Note: If you have something hard and smooth to roll your clay out on, it would go much better :) I started rolling out with a (full) wine bottle until David took it away from me, muttering something about the sediment :) He then returned with my kitchen rolling pin and placed it firmly in my hand!


I spread white glue on the floor and then began piecing in chunks of thinly rolled clay. I tried to put the straight edges of my chunks along the perimeter of the room.

Once I had all the floor covered, I rolled it smoother with the rolling pin. You can see little air bubbles in the above photo. I just pricked them with a nail or stylus and rerolled over them.


I started from the back. I should have started from the front edge, so that a row of complete tiles would be right on the most visible part! I started off very carefully matching things up, but got a little sloppy later on (as is inevitable with me). When I was done, I neatened the edges where the foam and plywood will be glued.

Now I need to let it dry until Friday or Saturday, and then I'll paint it. That should conceal a world of irregularities!


.JPG)


Nina, I find a 18" length of 2" PVC pipe works great as a roller for air drying clay. I haven't seen color air dry clay around here either. Should I check the art supply store?
ReplyDeleteYour floor looks nice...glad to see you glued the substrate liberally first. Anxious to see how much shrinkage you get with this brand of clay.
Tabs
Oh this looks so good!:)Great work Nina! Keep my fingers crossed the clay won't shrink.;)
ReplyDeleteWow!! great work, and now wait...
ReplyDeleteI want to tell you that this morning I sent you Caterina's swap, in 2 weeks the gift will arrive at your home (I hope that)... hugs
PD: I hope you like it!
I always work from the back to the front as yes the front matters!! I haven't bought the floor tile block, but some of the others.
ReplyDeleteI'm just hoping it doesn't shrink and crack (air drying clays can be a nightmare) as you have worked on a large piece of clay, it may have been better to have worked on smaller bits to prevent this. EVERYTHING crossed it will be fine and dandy! :o)) Knowing you, you will be successful!
Michelle xx
It looks good and hope it turns out well, I have never tried anything like this but I would like to have tiled floor in my shop. Well done!
ReplyDeleteThanks for the comments!
ReplyDelete18" length of pipe -- gotta get this for next time :) Thanks so much for the tip, Tabs!
That's a great idea to do bits at a time, Michelle -- I may try that for the brick exterior.
I'm not seeing a lot of shrinkage as it dries, but it is cracking a little (not very much). We'll see what it looks like after it's totally dried and faux finished.
Thanks for sharing your work. I have wanted to try a project with PaperClay for a while, and have had no experience working with it. I am anxiously awaiting your progress with the air-drying clay and learning so much. My biggest fear is the shrinkage as well. Glad to hear there has been very little shrinkage so far!! Keep us updated! Thanks!
ReplyDeletePaperClay sounds like fun, Wanda -- I've seen some AMAZING miniatures made with it and don't have a clue how they do it! Play with it and let me know how it goes, eh? What do you want to do with it?
ReplyDelete"I started rolling out with a (full) wine bottle until David took it away from me, muttering something about the sediment"
ReplyDeleteSomehow that struck me as hilarious - non-miniaturists just don't understand! :) Your tiles look great, can't wait to see the finished floor.
- Grace
Hello Nina! I went for a quick greeting!
ReplyDeleteas the work proceeds, for the Holiday Swap?? you can send me photos of your minis for Carolina? you have already received the package from Paki?? please give me news!
katiamilella@tiscali.it
kisses, Caterina
Looking great! Thank you so much for sharing! Can't wait to see the next update!
ReplyDeleteJamie
Great blog and some lovely ideas. i may try and get some other tiles for around my fire so im glad i found this site.
ReplyDeleteThanks
Kitchen Benchtops
Hi I hope you are still accepting comments. I think that these designs are great but you never get the full impact of the tile unless you physically touch it and see it live. Tiles truly can dynamically change a room and working with a local supplier is your best option.
ReplyDeletehere
Good quality Kitchen floor tiles are everlasting and can serve for you for long. These are integral part of the kitchen when you are planning for kitchen interior remodeling. baldosas cocina
ReplyDelete